|
| Understanding Geds |
|
|
|
|
What is geds??
|
|
The geds system is a generic, scalable and dynamic system
based on the meta data. The system is for organisation of
data into the database based on the various rules & constraints
as set in the meta data. The geds system is to be used right
from insertion of data to maintenance of data to building
relation ship between them.
A metadata base primarily tells how the data should be
interpreted & how data should enter the database. For
eg, a field called discount might not be supposed have a value
more than 30, which is only a logical construct. This can
neither be a part of the geds system or a part of database
design, since the upper limit of the discount is a variable
and would change in accordance to the business rule. This
could only be a part of the metadata where a suitable rule
is built. The ‘buddha’ system does the key job of building
the metadata on the foundations of which the geds system works.
The metadata would also house the rules on
‘who’ accesses ‘what’ data. Its based on these rules that
the user is allowed to perform certain functionality, manage
data and view data in the first case.
geds has been built to be dynamic since the rules for businesses
might change on a day to day basis. And also generic to be
able to adapt itself to changing database environments. It
is a highly scalable and would be able to accommodate increased
functionalities.
The system builds a user interface at run
time to manage data, build & delete relation between the
data. This User Interface is dynamic and is based on the user
who is logged in & the privileges the user group he belongs
to. A certain set of functionalities might be denied to the
user or a certain set of fields of a table might be off limits
to the user, all based on the rules, which is part of the
metadata.
|
|
| Start Up |
| |
|
On starting the application
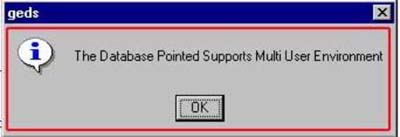
A message stating whether the database pointed out supports
multi-user environment is shown.
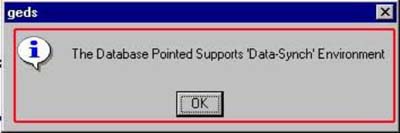
A message stating whether the database pointed out supports
synch operations is thrown.

The login window is thrown. The user has to enter the user
id , the password and choose the domain to which he belongs.
If the login info. is found to be incorrect , a appropriate
message is thrown to the user. Else he is logged in and is
reflected by the change in status.
|
|
| Add |
| |
|

Click the ‘Add’ option from the main menu.
If no screen is displayed, it implies that the user is either
not logged in or the domain to which he belongs to does not
have the privilege to add data.
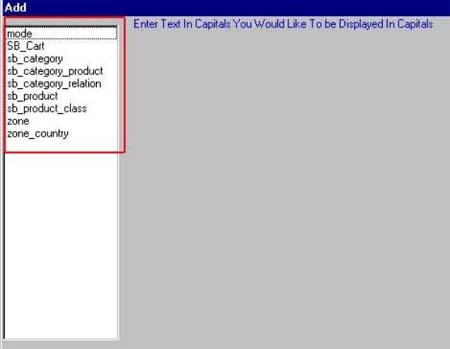
On the screen being displayed, a list of
all available tables to which the user can add data is displayed.
Now the user needs to click on the table to which he/she
would like to add data.
A dynamic user interface to enter data is generated and
displayed on to the user.
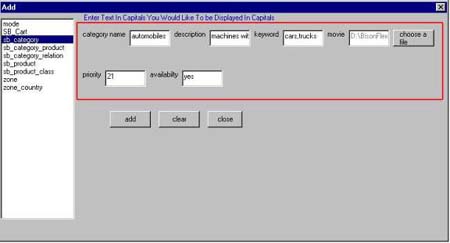
The user now needs to add data, into the appropriate textboxes/textareas.
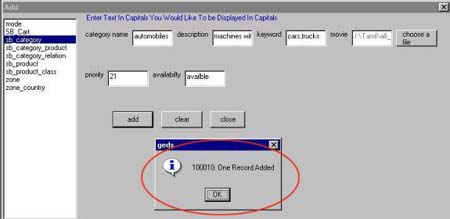
Once the user has added all data, he/she needs to click ‘add’
button, would add data into the table.
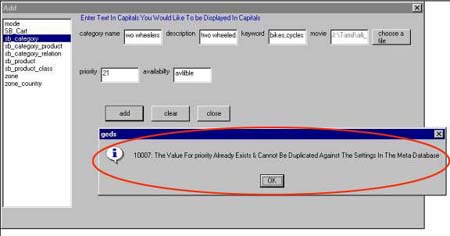
if there were any problems with adding the data into the table
, an appropriate message is thrown to the user. Else a message
stating that the data has been added is displayed. Clicking
on ‘clear’ button would clear all data available in the textboxes/textareas.
Clicking ‘close’ would close the screen.
|
|
| Modify |
| |
|

Click the ‘Modify’ option from the main menu. If no screen
is displayed, it implies that the user is either not logged
in or the domain to which he belongs to does not have the
privilege to modify data.
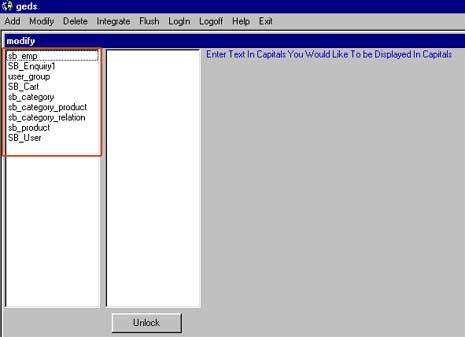
On the screen being displayed, a list of all available tables
to which the user can modify data is displayed. Now the user
needs to click on a record, which he/she would like to modify.
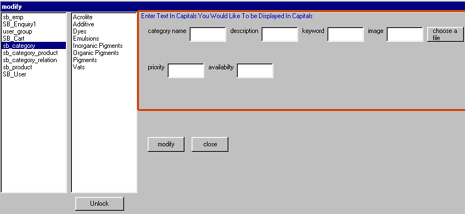
A dynamic user interface to enter data is generated and displayed
on to the user.
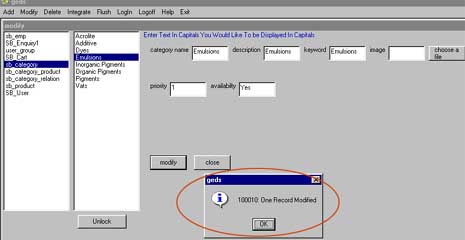
The user can now modify the data, click on the ‘modify’ button
to update the data. Any problems encountered while modifying
the data is reported back to the user with the appropriate
message. Clicking on ‘clear’ button would clear all data available
in the textboxes/textareas. Clicking ‘close’ would close the
screen.
|
|
| Delete: |
| |
|

Click the ‘Delete’ option from the main menu. If
no screen is displayed, it implies that the user is either
not logged in or the domain to which he belongs to does not
have the privilege to delete data.
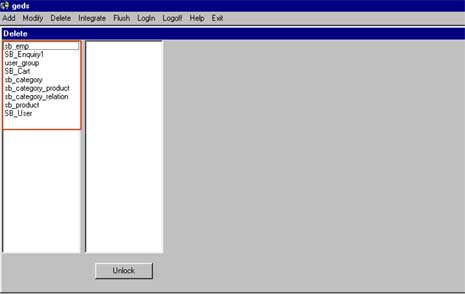
On the screen being displayed, a list of all available tables
to which the user can modify data is displayed.
Now the user needs to click on a record, which he/she would
like to delete.
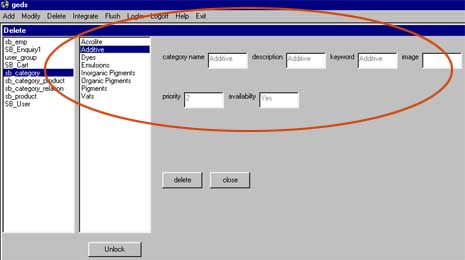
A dynamic user interface to enter data is generated and displayed
on to the user.
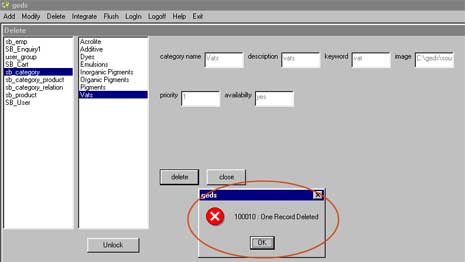
The user can now delete the data, click on the ‘delete’ button
to update the data. Any problems encountered while delete
the data is reported back to the user with the appropriate
message. Clicking on ‘clear’ button would clear all data available
in the textboxes/textareas. Clicking ‘close’ would close the
screen.
|
|
| Integrate: |
| |
| Build Relation |
|
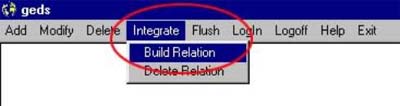
Click the ‘Integrate’-> ‘Build Relation’ option
from the main menu. If no screen is displayed, it implies
that the user is either not logged in or the domain to which
he belongs to does not have the privilege to delete data.
On the screen being displayed, a list of all available tables
to which the user can build relations is displayed. Choosing
a table would cause the system to display the parent table
for the chosen table. On choosing a parent table all the records
relating to the parent as well as the child table are displayed
on the respective list boxes.
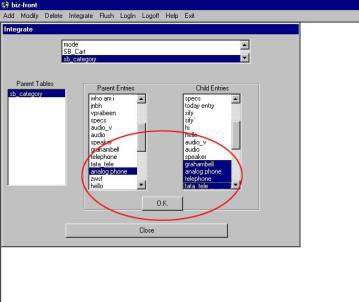
The user now has to choose a parent record and all those child
entries that are supposed to be child of the parent, and click
on ‘ok’. The respective relationship is set and any problems
encountered while setting this relationship is reported to
the user.

On the user wanting to create the relationship where the entry
is the top most parent, the user needs to choose the record
from the child table list and NOT choose any entry from the
parent table list and click ‘ok’. The respective relationship
is set and any problems encountered while setting this relationship
is reported to the user. Clicking ‘close’ would close the
screen.
|
|
| Delete Relation |
| |
|
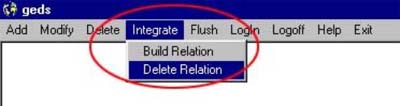
Click the ‘Integrate’ -> ‘Delete Relation’
option from the main menu. If no screen is displayed, it implies
that the user is either not logged in or the domain to which
he belongs to does not have the privilege to delete data.
On the screen being displayed, a list of all available tables
to which the user can build relations is displayed. Choosing
a table would cause the system to display the parent table
for the chosen table. On choosing a parent table all the records
relating to the parent as well as the child table are displayed
on the respective list boxes.
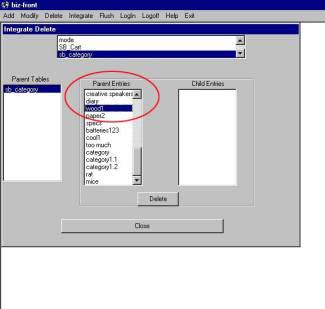
The user now has to choose a parent record and all those child
entries that are supposed to be child of the parent, and click
on ‘ok’. The respective relationship is deleted and any problems
encountered while deleting this relationship is reported to
the user.
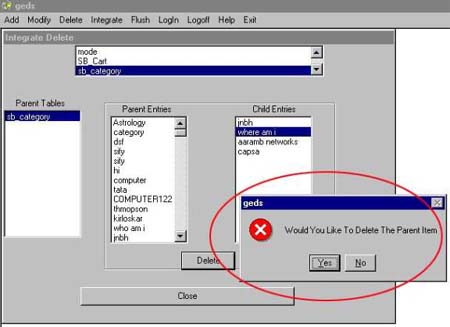
On the user wanting to delete the relationship where the
entry is the top most parent, the user needs to choose the
record from the child table list and NOT choose any entry
from the parent table list and click ‘ok’. The respective
relationship is deleted and any problems encountered while
deleting this relationship is reported to the user. Clicking
‘close’ would close the screen.
|
Top
|
|
|